Cart
0
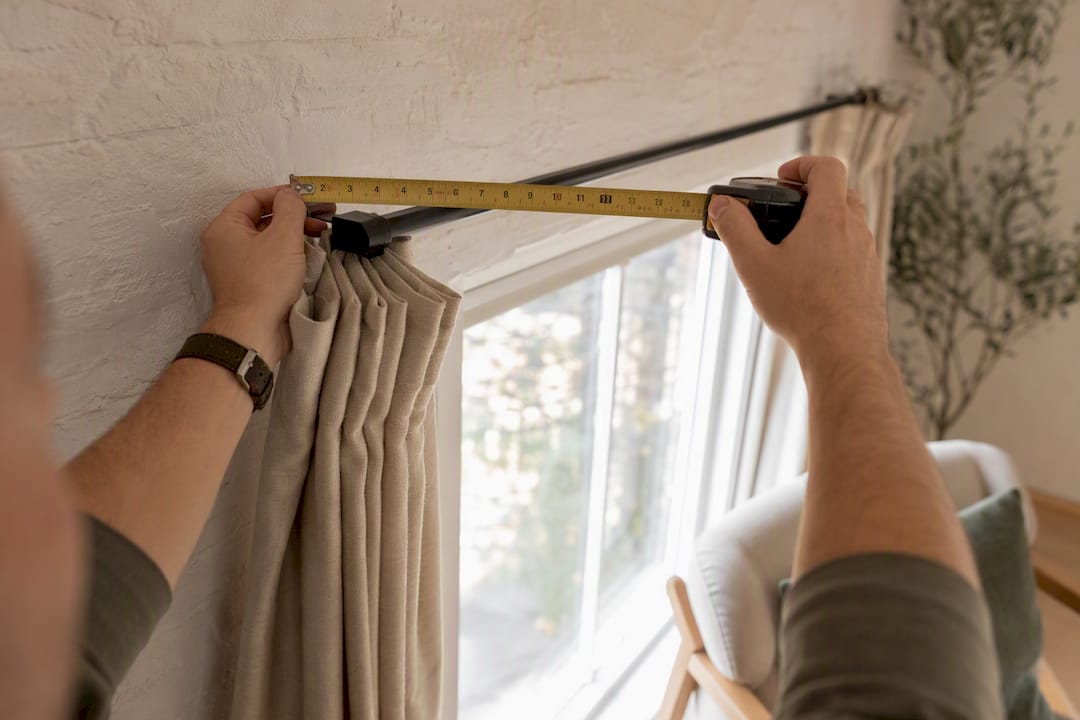
You need two numbers before you buy a single curtain: the width of your pole or track, and the finished drop from that fixing point to wherever the hem should land. For a standard tailored look, multiply the rod width by two to get your fabric width, and for a floor length finish, aim to sit the hem slightly above the floor. Measure everything in millimetres, and measure twice.
TL;DR:
- Measure pole or track width from end to end, excluding finials for decorative poles or the overlap on overlap tracks to ensure accurate fabric calculations.
- Use a fullness ratio between 1.5 to 3 depending on fabric weight and style, and always round up the number of panels required based on finished panel width.
- Measure curtain drop from the appropriate start point (pole top, track top, or recess) to your desired finish, considering any allowances for style and clearance from heat sources.
- Double-check measurements by photographing the tape measure across the window and verify all dimensions before ordering to reduce sizing errors and returns.
- Consider made-to-measure options for unconventional openings or pattern matching, while standard windows often suit ready-made curtains listed with clear, measured dimensions.
Table of Contents
- Curtain size guide: quick checklist and core formulas
- How do you measure curtain width for a pole or track?
- How do you measure curtain drop for different heading styles?
- Choosing fullness and working out how many panels you need
- Special cases: bay windows, doors, tall ceilings and radiators
- What ready-made sizes actually mean and how to convert them
- Common measuring mistakes and how to fix them
- How Homable checks measurements on real jobs
- Ready-made or made-to-measure: which should you choose?
- Get the right curtain size without the guesswork
- Calculators and guides worth checking your numbers against
- Sources
Curtain size guide: quick checklist and core formulas
Before you touch a tape measure, gather a steel tape (not fabric, which stretches), a pencil, paper or a phone notes app, and a stepladder if you’re working above a door or a tall window. Work in millimetres throughout. It sounds fussy, but “203cm” versus “20.3cm” is exactly the kind of slip that gets curtains sent back.
The formulas that do the actual work are simple once you’ve written them down:
- Rod width = window opening + side extensions (typically a small extension each side)
- Fabric width = rod width × fullness factor (1.5 to 3, depending on style)
- Panels required = fabric width ÷ finished panel width, always rounded up
- Finished drop = distance from the correct heading start point to your chosen finish point, plus any heading allowance the product needs
Pro Tip: Write your four numbers (rod width, fullness, fabric width, drop) on the same photo you take of the tape measure across the window. It saves a support ticket later.
Online tools such as the curtain size calculator take these same inputs, opening width, side extension, fullness, panel width and drop, and return the rod width, fabric width and panel count automatically, often alongside a scale diagram so you can check the stack visually before you commit.
How do you measure curtain width for a pole or track?
Width is where most ordering mistakes happen, usually because people measure the wrong thing. Here’s the correct sequence:
- Pole fitted: measure the full width between the decorative end caps, excluding the finials (the decorative knobs on the very ends). DotcomBlinds’ visual measuring guide shows exactly where that cutoff sits, and it’s easy to get wrong on ornate poles.
- Track fitted: measure end to end along the track itself. If it’s an overlap track (most are), note the overlap arm separately. It adds a small amount of extra fabric at the centre so the curtains don’t gap when closed.
- No hardware yet: measure the window recess or frame width, then add roughly a small extension to each side. That extension lets the curtains clear the glass and block light properly at the edges, rather than sitting flush with the frame.
- Inside mount: recesses are rarely perfectly square. Measure at the top, middle and bottom, and use the narrowest figure so the track or pole actually fits.
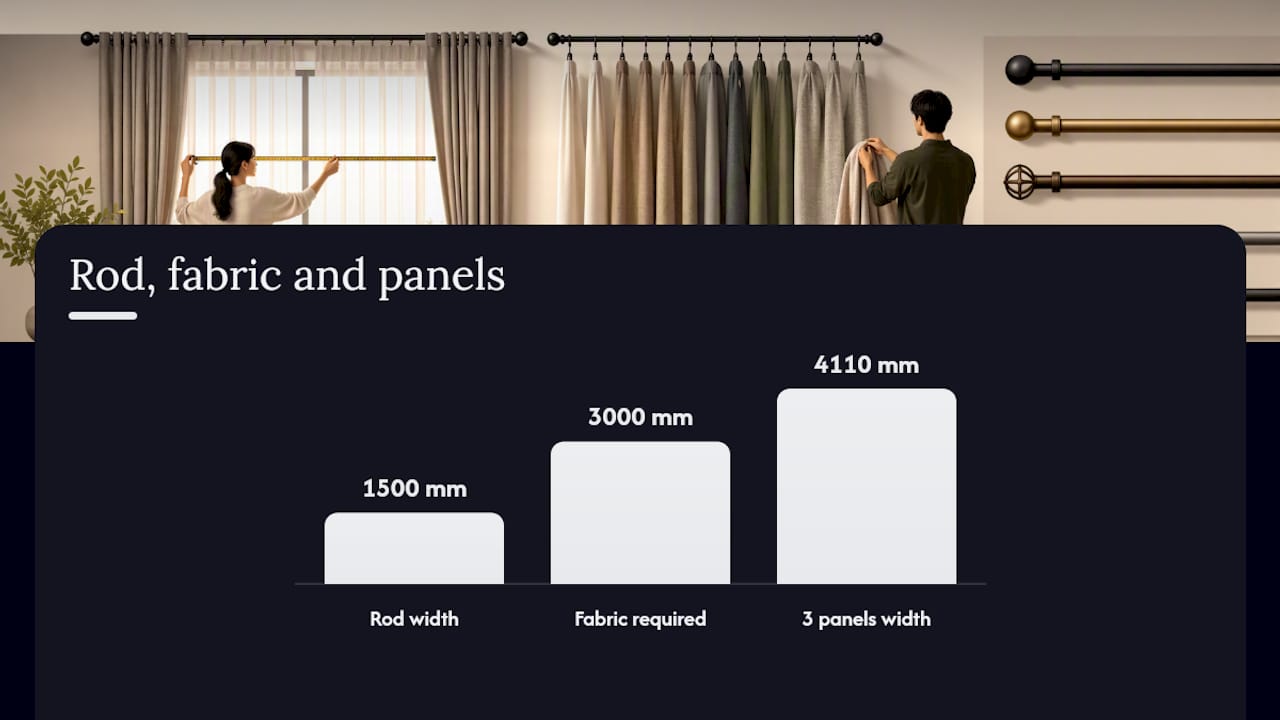
Worked example: a recess measuring 1200 mm gets a small extension added each side, giving a rod width of 1500 mm. At standard 2× fullness, that’s 3000 mm of fabric width to work with when picking panels.
How do you measure curtain drop for different heading styles?
The drop measurement changes depending on how the curtain hangs, and this trips up more people than width does.
- Eyelet curtains: measure from the top of the pole itself, since the pole passes through the eyelets and sits visible above the fabric.
- Pencil pleat or pinch pleat: measure from the top of the track, or the top of the rings if you’re using a pole with rings.
- Track only, no rings: measure from the top of the track.
Finish point matters just as much as start point, and the Omni Calculator curtain size tool sets out sensible defaults: sill length sits around 1.5 cm above the sill, floor length around 1.5 cm above the floor, and curtains passing above a radiator need 2 to 3 cm of clearance to avoid scorching or discolouration over time. Puddle length, where fabric pools on the floor, is a deliberate style choice and needs extra allowance built in on top of the standard floor drop.
As with width, measure the drop at the left, middle and right of the window. Use the shortest of the three for an inside mount so the finished curtain doesn’t drag on one side. Only add a heading allowance if the specific product calls for one, some tapes and eyelet kits already account for it in their stated size.

Choosing fullness and working out how many panels you need
Fullness is the ratio between your rod width and the actual fabric width, and it’s the single biggest factor in how full or flat your curtains look when closed. The standard multipliers run:
- 1.5× fullness for a relaxed, casual drape, often used with heavier fabrics
- 2× fullness for the standard tailored look most ready-made ranges assume
- 2.5× fullness for a fuller, more luxurious finish
- 3× fullness for sheers and voiles, which need extra fabric to avoid looking thin and flat
Heavier fabrics like velvet or thermal linings read as “full” with less material, so a 1.5× ratio often looks right. Sheers behave the opposite way, thin fabric needs more of it stacked up to avoid looking sparse.
Pro Tip: Heavy blackout or thermal curtains stack thickly when open. If your window has limited wall space either side, drop the fullness ratio slightly so the drawn-back curtains don’t swallow the glass.
Take the earlier example: a 1500 mm rod width at 2× fullness needs 3000 mm of fabric. If your chosen panels are 1370 mm wide finished, that’s 3000 ÷ 1370, rounded up to 3 panels. Always check whether the retailer quotes finished panel width or flat fabric width before you order, the two numbers can differ by a noticeable margin.
Special cases: bay windows, doors, tall ceilings and radiators
Standard rectangular windows are the easy case. A few layouts need their own approach.
- Bay windows: measure each segment of the bay separately, including the angled returns at the corners, and calculate fullness per section rather than as one flat width. This keeps the fabric stacking cleanly at each junction instead of gapping.
- Patio and door openings: measure the full opening and check that drawn-back curtains leave clear passage past handles and locks. Nobody wants to fight fabric to let the cat out.
- Tall ceilings: hanging the rod 100 to 150 mm above the top of the frame, and extending it 200 to 300 mm past each side, makes a window read taller and wider. It’s a genuine styling trick, but measure and fit the pole for that new position, not the frame’s actual edges.
- Radiators and furniture: keep at least 2 to 3 cm of clearance from any heat source, and factor in that some fabrics discolour or stiffen faster near radiators than others.
What ready-made sizes actually mean and how to convert them
Ready-made curtains are almost always listed as width × drop, but the packaging convention varies. Some retailers price and package per panel, others per pair, so check that detail before you assume you’re getting two curtains for the price shown, a point worth flagging even in a buying guide as considered as John Lewis’s.
Typical ready-made drops cluster around a handful of standard lengths that roughly match sill, floor and puddle finishes, though exact figures vary by brand, so treat any specific number as a starting range rather than a fixed industry standard.
Worked example: a 2000 mm opening with 150 mm extensions each side gives a 2300 mm rod width. At 2× fullness, that’s 4600 mm of fabric, needing four panels if each finished panel measures roughly 1370 mm wide.
- Always confirm the finished panel width directly with the retailer before ordering
- Round panel counts up, never down, a slightly fuller curtain looks intentional; a slightly skimpy one looks like a mistake
Common measuring mistakes and how to fix them
Most returns trace back to one of three errors: measuring from the wrong start point for the heading style, using flat fabric width when the retailer meant finished width, or forgetting the overlap arm on a track. Each is avoidable with a second check before ordering.
- Wrong start point: re-measure from the pole top (eyelet) or track top (everything else), not from the wall bracket.
- Width basis mismatch: confirm with the retailer whether the quoted width is flat or finished, then recalculate panel count if needed.
- Missing overlap: add the overlap arm allowance back in in if your curtains gap at the centre when drawn.
- Genuinely wrong cut: a hem can usually be adjusted by a local alterer; a width problem often means a remake.
Before placing any order, run through a short checklist: rod or track width confirmed, drop measured at three points, fullness ratio chosen, finished panel width verified, and photos of the tape measure saved against each window. That last step alone resolves most sizing queries without a back-and-forth email chain.
How Homable checks measurements on real jobs
Homable’s own curtain installation workflow guide sets out the same habits used on real fitting jobs: a steel tape rather than fabric, a proper ladder for anything above head height, and a labelled photo per window rather than a single scribbled note for the whole house.
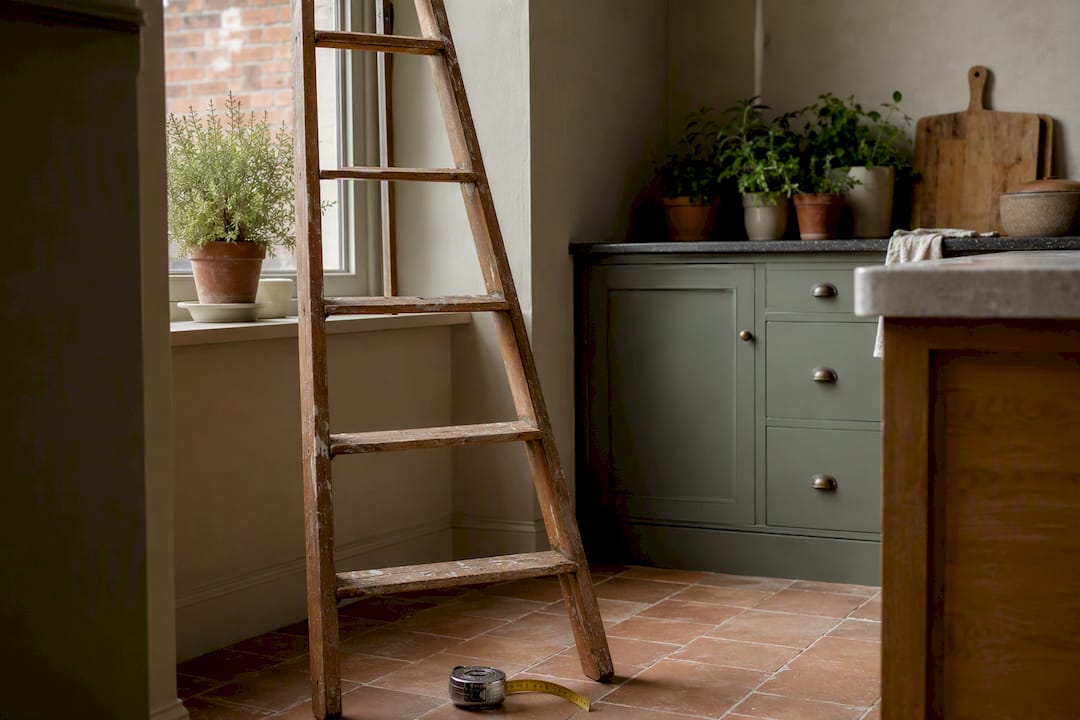
Pro Tip: Photograph the tape measure still stretched across the window, with the reading clearly in frame. It’s the fastest way to settle a dispute over a measurement without a second visit.
Correct length and fullness aren’t just technical details, they’re what makes a room feel finished rather than furnished.
Ready-made or made-to-measure: which should you choose?
Ready-made panels work fine for standard rectangular windows with common drops, and they’re cheaper and faster to get right. Once you’re dealing with a bay, an unusual drop, or a fabric pattern that needs matching across panels, made-to-measure earns its price. Homable’s size guidance and customer support exist to catch sizing errors before they become returns. Measure twice, and order once.
— Cristiano
Get the right curtain size without the guesswork
Homable’s curtain ranges are listed with clear finished dimensions on every product page, so what you measure is what you order, no flat-versus-finished confusion. If you’re weighing up bespoke fitting against a ready-made option, a made-to-measure specialist like The Perfect Stitch can handle unusual bay or pattern-matching jobs in person, but for standard windows, checking sizes against a clear product listing gets you there faster and cheaper.

Take your rod width, drop and fullness numbers from this guide and check them against the finished dimensions listed on a bamboo door curtain or any panel in the current range. If your measurements sit between standard sizes, Homable’s customer support can talk you through the closest fit before you order, so browse the full collection and measure once, order once.
Calculators and guides worth checking your numbers against
A few external tools are worth bookmarking alongside this guide. The curtain size calculator on curtains.top converts your opening width, extension and fullness straight into a panel count and includes a scale diagram, useful for sanity-checking a bay window calculation. Omni Calculator’s version is stronger on drop and finish-point logic, particularly for radiator clearance and puddle length. For the visual side, DotcomBlinds’ measuring guide shows exactly where the pole measurement starts and stops, which is easier to see in a photo than to describe in text.
Sources
- How to Measure for Curtains With Visual Examples | DotcomBlinds
- Curtain size calculator | MiniWebTool
- Curtain size calculator | OmniCalculator
- How to Measure for Curtains: A Room-by-Room Size Guide and Calculator