Cart
0
TL;DR:
- Home staging influences a buyer’s perception within seconds by highlighting light, scent, and space. Strategies include setting clear goals, choosing between DIY, professional, or virtual staging, and systematically cleaning, decluttering, and styling each room to maximize appeal. Adding personal touches, maximizing natural light, and ensuring memorable details help create an emotional connection that makes a property stand out.
When a potential buyer steps through your front door, they form an opinion within seconds. That gut feeling, shaped by light, scent, clutter, and proportion, will influence whether they make an offer or walk away. Home staging is the strategic process of preparing a property to appeal to the widest possible audience, and it goes far beyond a quick tidy. Used correctly, a structured checklist approach gives UK homeowners a clear, repeatable system for transforming any space from merely lived-in to genuinely desirable.
Table of Contents
- What to consider before you start staging
- The complete home staging checklist
- DIY vs professional vs virtual staging: How do they compare?
- Top tips for maximising impact on any budget
- What most home staging guides miss: The real secret to a memorable space
- Elevate your space with stylish finishing touches
- Frequently asked questions
Key Takeaways
| Point | Details |
|---|---|
| Room-by-room checklist | Strategically stage each area to make your home welcoming and memorable. |
| Cost-effective options | DIY and virtual staging allow impact on a budget while professional services save time. |
| Maximise first impressions | Simple touches like fresh linens, open curtains, and decluttering boost appeal instantly. |
| Personalisation matters | Adding unique and neutral touches tells a story and can make your home truly stand out. |
What to consider before you start staging
Before you rearrange a single cushion or buy a scented candle, it is worth pausing to ask yourself one simple question: what is the goal here? That answer shapes everything else.
Clarify your objective first. Are you staging to sell quickly, to achieve the highest possible price, or simply to refresh your home for your own enjoyment? Each goal calls for a different level of investment and effort. A quick sale might prioritise kerb appeal and a clutter-free interior, while maximising price demands more thorough attention to every room.
Once your goal is clear, budget becomes the next major consideration. Your options fall into three broad categories:
- DIY staging: You do all the work yourself using items you already own, supplemented by inexpensive accessories. According to House and Garden, DIY costs £200 to £600 and requires roughly 20 to 30 hours of your time.
- Professional staging: A trained home stager visits your property, brings in furniture and accessories, and handles everything for you. This typically costs between £1,500 and £5,000 depending on the size and location of your property.
- Virtual staging: A digital service that edits listing photographs to show a furnished version of an empty room, often as little as £0.50 per image. It is particularly useful for empty properties.
Before any decorating begins, complete a few essential preparatory tasks. Fix the obvious faults: that dripping tap, the cracked tile, the scuffed skirting board. These small defects send subconscious signals to buyers that the property has not been well maintained. Then tackle a thorough declutter, clearing personal photographs, excess furniture, and anything that makes rooms feel smaller or busier than they need to be. Our decorating checklist for UK homes is a useful starting point if you are not sure where to begin with organising your space before staging.
Set a realistic schedule, too. Most DIY staging projects take two to four weekends when spread across a whole property. Build in time for tasks that take longer than expected, such as repainting walls or waiting for furniture deliveries.
Pro Tip: Start with the rooms that photographs most often represent: the living room, kitchen, and master bedroom. These are the images that will attract or deter viewings before anyone even visits in person.
With clear goals in mind, let’s explore the essential components every well-staged home should include.
The complete home staging checklist
Effective staging follows a logical sequence. Think of it in layers: clean and repair first, then declutter and depersonalise, then style and accessorise. This order matters because styling a cluttered or dirty room is a waste of effort.
Universal steps for every room:
- Deep clean every surface, including inside cupboards that buyers may open.
- Remove personal photographs, children’s artwork, and anything that tells too specific a story about who lives there.
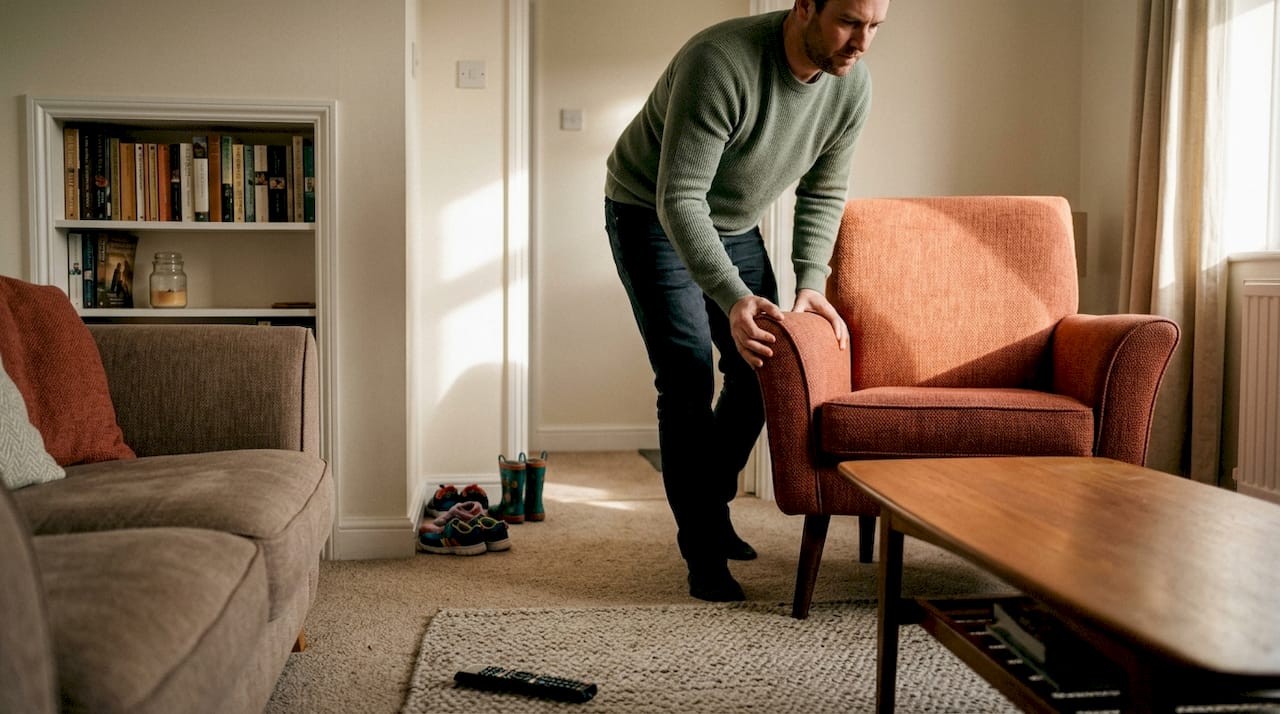
- Reduce furniture to a minimum. Each room should feel spacious and purposeful.
- Repair any visible damage: chips in paintwork, loose door handles, stained grout.
- Open windows before viewings to clear cooking smells, pet odours, or mustiness.
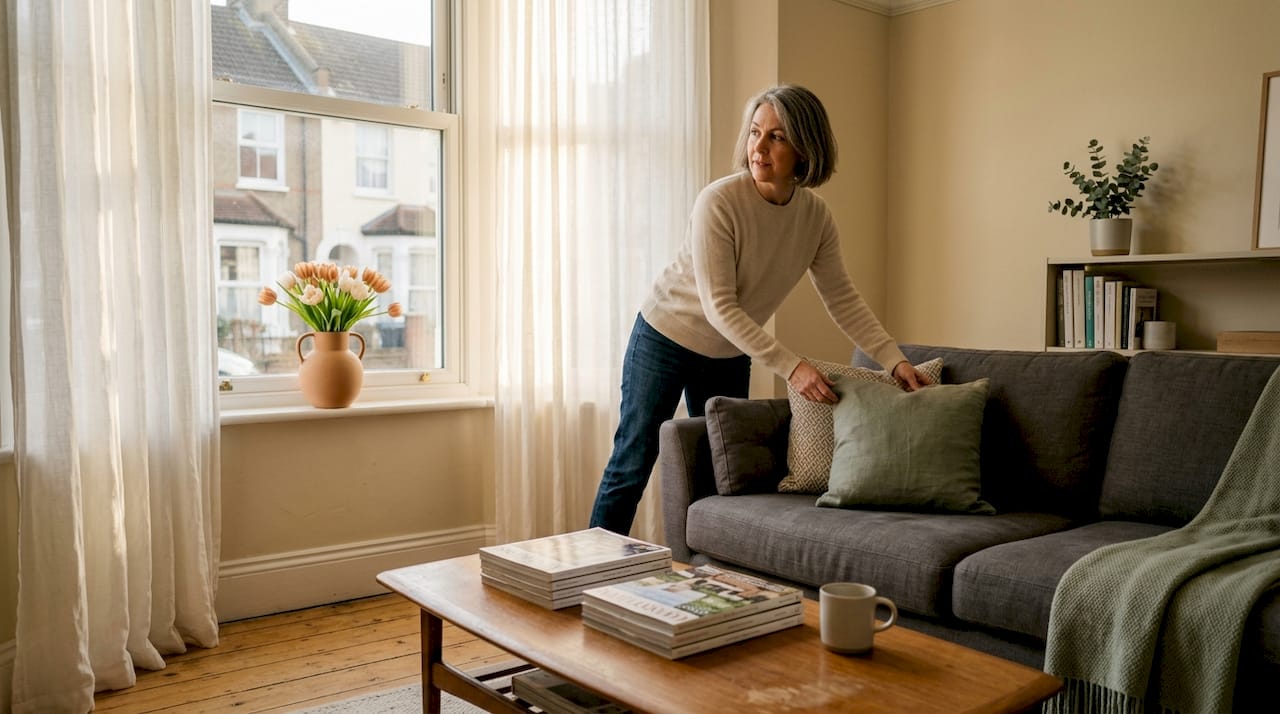
Living room: Arrange furniture so that it creates a natural conversation area rather than a line of seats pushed against the walls. Place a sofa and two chairs angled towards one another, leaving clear walkways around them. Use a large mirror to amplify natural light and create the impression of a bigger space. Style any open shelving sparingly: three to five well-chosen objects rather than a full collection. A folded throw blanket and a couple of cushions in a cohesive colour palette add warmth without visual noise.
Kitchen: Clear every worktop entirely, then bring back only two or three items that suggest a lifestyle rather than storage, such as a cafetière, a small plant, or a bowl of fresh fruit. Open shelving should display clean, matching crockery rather than a jumble of mismatched items. If your units look tired, new handles are a low-cost update that makes a surprisingly significant difference.
Bedrooms: Fresh, hotel-style linen in white or soft neutral tones immediately signals cleanliness and calm. Remove at least half the items from wardrobes if buyers will open them, which they frequently do. Two bedside tables with matching lamps create a sense of symmetry and consideration. Keep decor to a minimum: a single piece of wall art and a small plant are plenty.
Bathrooms: Display two or three clean, neatly folded towels in coordinating colours. Hide all personal toiletries inside a cupboard or under the sink. A small plant such as a fern or spider plant adds life without taking up much space. Clean the grout meticulously; it is one of the first things buyers notice.
Entrance hallway: This is the first interior space a buyer experiences. Clear it of coats, bags, and shoes. Add a clean door mat, a small mirror, and if space allows, a single stem in a vase. A subtle diffuser in a clean, fresh scent sets the tone for the whole visit.
As Rightmove advises, the key factors are maximising light and freshness: mirrors, open curtains, fresh linens, plants, hidden cables, and professional photography all contribute significantly to a successful listing.
“Buyers don’t just buy a property; they buy a feeling. Your job is to give them the feeling of a home they could step straight into.”
Pro Tip: Hide all visible cables, phone chargers, and extension leads before any photography or viewing. They are surprisingly distracting and make a room look messy even when everything else is tidy.
If you want to understand how to transform any space step by step, working room by room is the most effective approach. For a deeper look at individual room aesthetics, our room-specific decor style guide offers tailored advice for every part of the home.
Now that you have a room-by-room game plan, see how the options stack up when considering cost, time, and impact.
DIY vs professional vs virtual staging: How do they compare?
Choosing the right staging method is largely a question of budget, time, and the current condition of your property. The table below gives you a clear comparison.
| Feature | DIY staging | Professional staging | Virtual staging |
|---|---|---|---|
| Typical cost | £200 to £600 | £1,500 to £5,000 | From £0.50 per image |
| Time required | 20 to 30 hours | Minimal (stager handles it) | 24 to 48 hours turnaround |
| Skill needed | Moderate | None from owner | None from owner |
| Best suited for | Occupied homes, tight budgets | High-value or vacant properties | Empty properties or online listings |
| Main advantage | Cost-effective, personal control | Expert results, stress-free | Very low cost, fast turnaround |
| Main limitation | Time-consuming, results vary | Expensive upfront investment | Doesn’t change the physical space |
The professional vs DIY cost difference is substantial, but so is the difference in results for high-value or vacant properties. A professional stager brings trained design instincts, access to furniture hire, and the objectivity that many homeowners lack when it comes to their own space.
Pros of DIY staging:
- You control the timeline and every decision.
- Savings can be reinvested into accessories and repairs.
- Works well for homes that are already in good condition.
Cons of DIY staging:
- It is difficult to be objective about your own home.
- The time commitment is significant.
- Results depend heavily on your personal styling skills.
When virtual staging makes sense: If your property is empty and you need to list it quickly, virtual staging is extraordinarily cost-effective. However, buyers who visit in person will see an empty space, which can be jarring. It works best when combined with a few physical props such as a rug, some art, and a statement plant to give the space some tangibility.
For homes with limited square footage, knowing how to approach decorating small spaces strategically can make a significant difference to how a staged room feels in photographs and in person.
Understanding the staging method that fits your needs will help you make the final decision with confidence.
Top tips for maximising impact on any budget
Whether you are spending £200 or £2,000, certain techniques consistently deliver the biggest visual and emotional return.
Maximise light first. Natural light is the single most powerful tool in your staging toolkit. Open every curtain and blind fully. Clean your windows inside and out. If a room feels dim, add a floor lamp in the corner rather than relying solely on overhead lighting, which can feel harsh and unflattering in photographs.
Low-cost items that lift a room instantly:
- A large, inexpensive mirror placed opposite a window.
- Fresh flowers or potted plants in the kitchen, bathroom, and living room.
- A new neutral rug to anchor a living area.
- Matching cushion covers to refresh a sofa without buying new furniture.
- A set of matching coat hangers to make a wardrobe look organised when buyers look inside.
Do not overlook kerb appeal. UK buyers frequently do a slow drive-by before booking a viewing. Paint your front door if it looks tired. Clean the driveway. Trim hedges and add a pot plant or two beside the entrance. This first impression happens before buyers even ring the bell.
As Rightmove’s guidance makes clear, professional photography is one of the most valuable investments you can make at the end of your staging process. A skilled property photographer knows how to use angles, natural light, and timing to show your home at its absolute best.
Common mistakes to avoid:
- Over-accessorising: less is almost always more.
- Using strong or polarising colours that limit buyer imagination.
- Ignoring unpleasant smells: no amount of styling overcomes them.
- Staging only the rooms that appear in photographs while leaving others untouched.
Pro Tip: Borrow before you buy. Before purchasing any new accessories, walk through your home and look for items in less-used rooms that could be relocated to key staging areas. A lamp from a spare room, a vase from a shelf, a plant from a bathroom window. Often the best items are already in your home.
For more ideas on pulling a look together cohesively across your whole house, our guide to modern home styling covers the principles that make rooms feel curated rather than accidental.
With these tips and tools, you’re equipped to create a space that stands out.
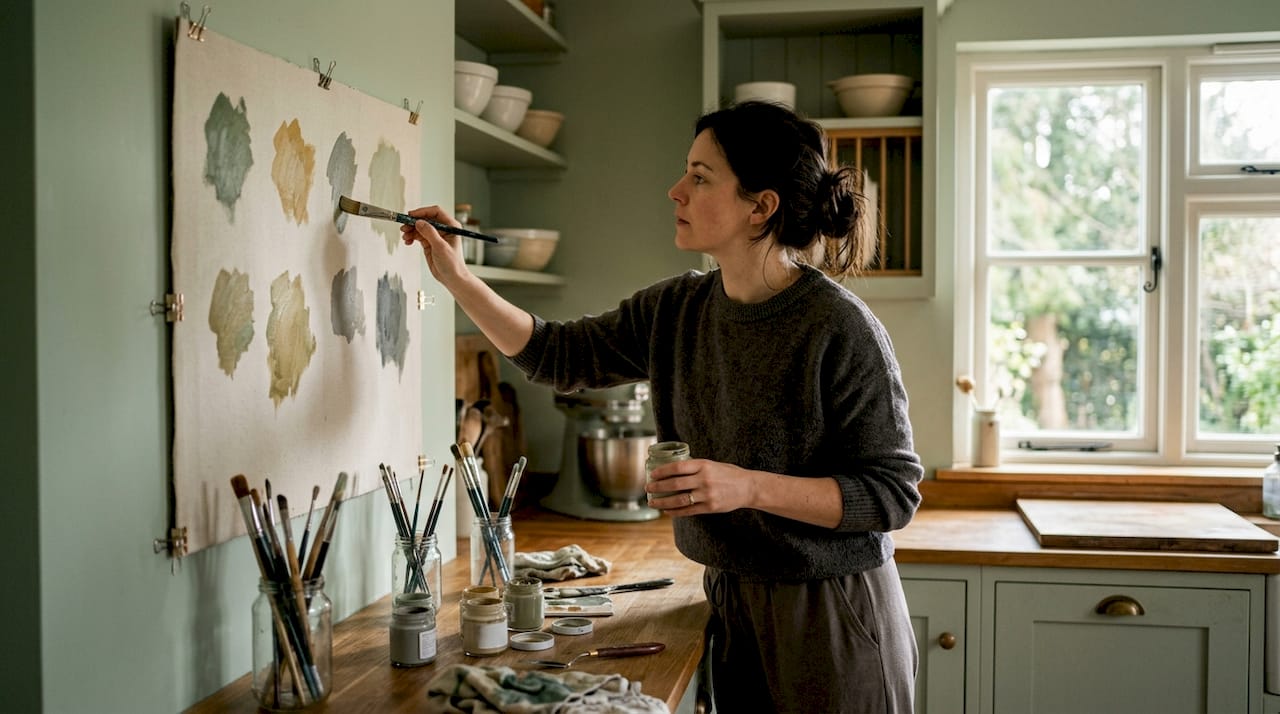
What most home staging guides miss: The real secret to a memorable space
Most staging checklists are built around the idea of neutrality. Remove the personal, make it inoffensive, appeal to everyone. And that advice is largely sound. But here is the uncomfortable truth: when every staged home looks identical, none of them are truly memorable.
We have noticed that the properties buyers talk about days after viewing are rarely the ones that ticked every box on a generic staging list. They are the ones that told a subtle story. A kitchen where a small herb garden sat on a sunny windowsill. A bedroom where layered textures made the room feel genuinely restful rather than styled. A living room where a single piece of bold art gave the whole space a point of view.
The trick is to personalise without being personal. Remove family photographs, yes. But replace them with something that still communicates a way of living: a framed print, a stack of books, a meaningful object. These details say “a thoughtful person lives here” without saying “a specific person lives here.”
Breaking the rules on the checklist occasionally is not reckless. It is strategic. If every living room has two plain cushions and a folded throw, the one that breaks from the pattern with a striking colour or unexpected texture is the one that lingers in the memory. Buyers often cannot articulate exactly why a property felt right. They just know it did. Your job is to engineer that feeling.
Our step-by-step decorating guide explores how to layer personality into a space thoughtfully, which is the aspect most standard staging advice leaves entirely out.
Elevate your space with stylish finishing touches
Once the staging groundwork is done, the right accessories make all the difference. Choosing pieces that feel considered rather than generic is what separates a good staging job from a truly impressive one.
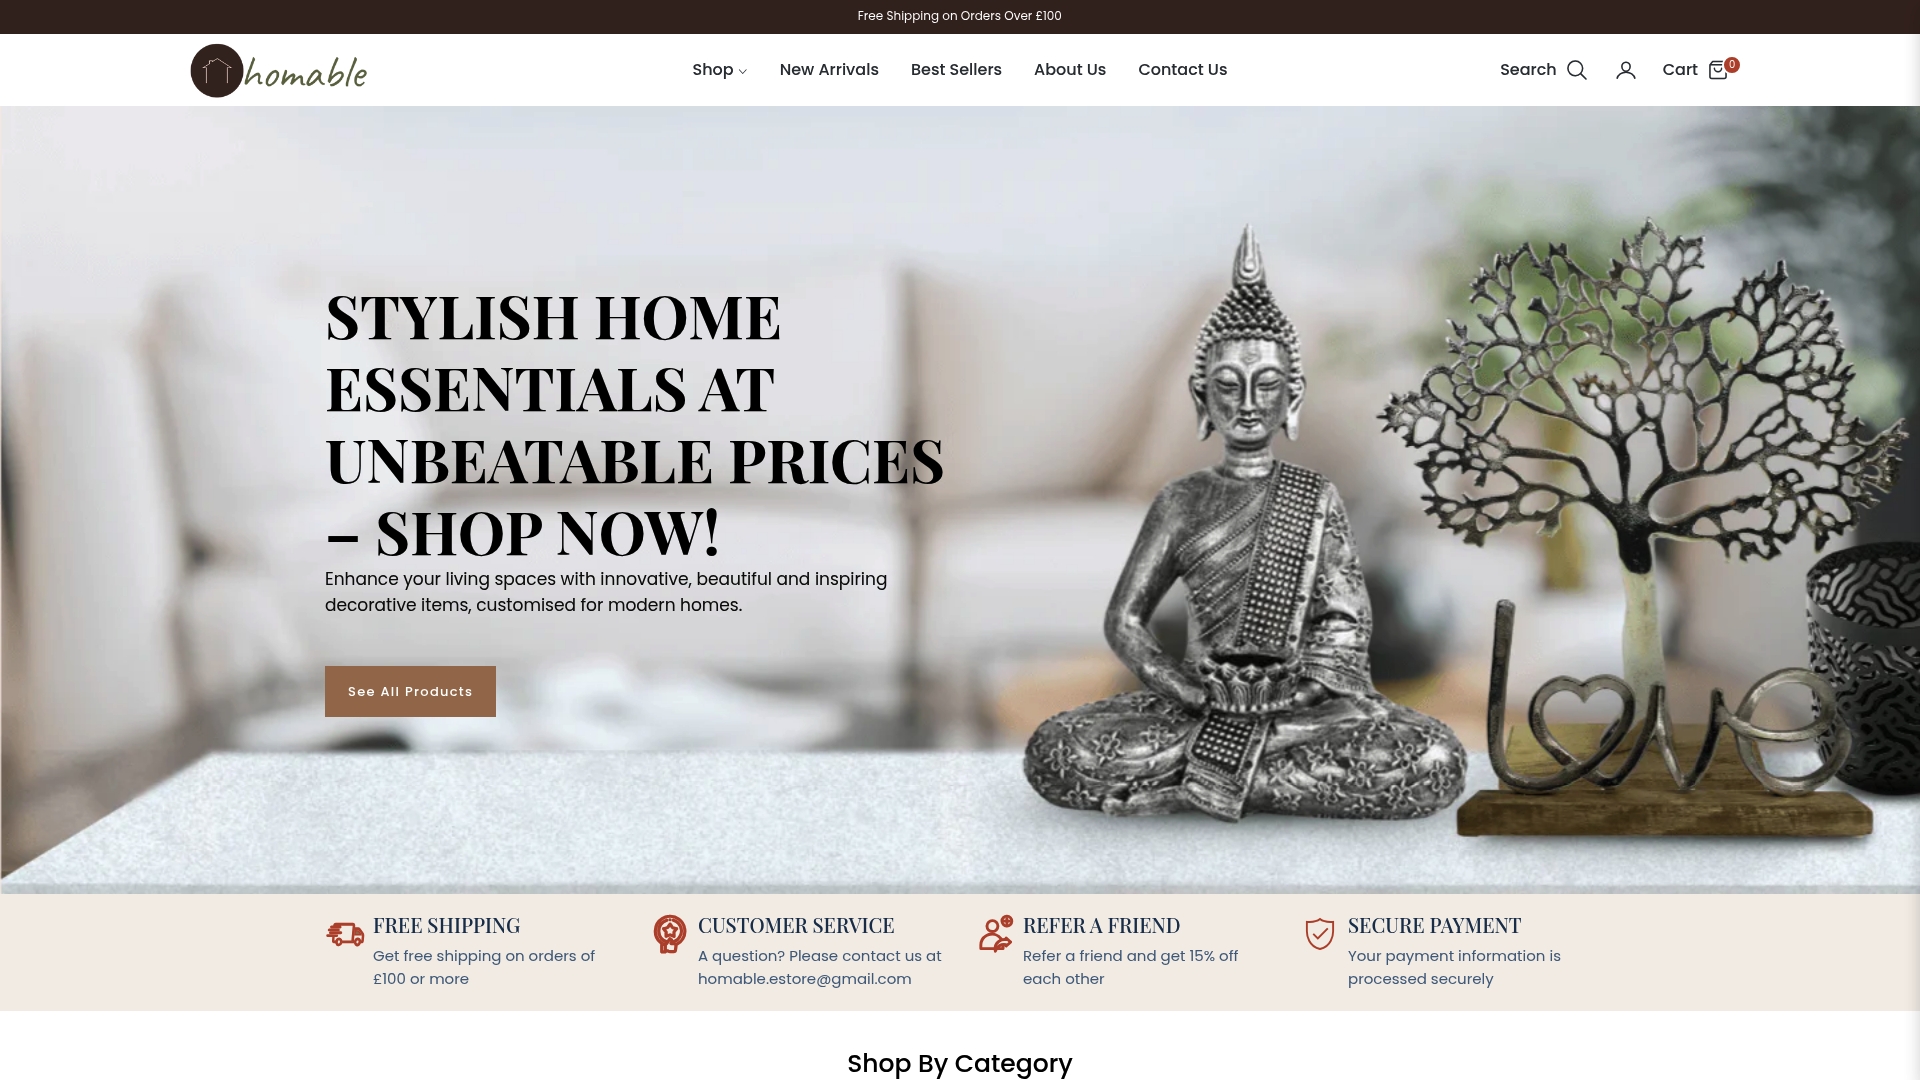
At Homable, we stock a curated range of finishing touches designed precisely for moments like this. A wooden base ornament adds warmth and texture to shelves and sideboards without overwhelming the space, while a bath and pedestal rug set can instantly lift a bathroom from functional to genuinely inviting. Browse the full range of home accessories at Homable to find the pieces that will complete your staged rooms with style, quality, and real value. Free delivery on orders over £100 makes it easy to get exactly what you need without the fuss.
Frequently asked questions
Which rooms should I prioritise when staging my home?
Focus on the living room, kitchen, master bedroom, and bathroom for the most noticeable impact, as these are the spaces buyers examine most carefully and that feature most prominently in listing photographs.
Is home staging really worth the extra effort and cost?
Effective staging can genuinely help sell properties faster and at a higher price, with key factors like light and freshness playing a measurable role in how buyers perceive value.
What is the cheapest way to stage a home?
DIY staging and virtual staging offer the lowest entry points, with DIY costing £200 to £600 and relying primarily on decluttering, furniture rearrangement, and inexpensive accessories to create an immediate impact.
How can I maximise natural light when staging my home?
Use mirrors positioned opposite windows, open all curtains fully, keep windows spotlessly clean, and supplement with floor lamps in dim corners, all of which Rightmove identifies as effective methods for enhancing light in listed properties.