Cart
0
TL;DR:
- Most UK hallways are underdecorated and poorly planned, despite being the first impression of a home. A structured workflow encompassing measurement, lighting, furniture placement, and styling ensures a cohesive, durable, and visually appealing space. Proper sequencing and practical products elevate a hallway from an afterthought to a stylish statement that sets the tone for the entire home.
Your hallway is the first room every guest sees and the last space you pass through before closing the door on the day. Yet most UK homeowners treat it as an afterthought, a place to dump coats and push shoes to the wall. Following a clear workflow for hallway decor changes that entirely. It gives you a repeatable, logical order of decisions so that narrow dimensions, awkward angles, and poor lighting stop feeling like obstacles and start feeling manageable. This guide walks you through every stage, from measuring bare walls to placing the final runner rug.
Table of Contents
- Preparing your hallway for decorating
- Tools, materials, and initial styling concepts
- Executing the styling workflow step by step
- Troubleshooting common hallway decor mistakes
- Verifying your hallway transformation and final tips
- Why a structured workflow transforms hallway decor success
- Essential products to complete your hallway decor workflow
- Frequently asked questions
Key Takeaways
| Point | Details |
|---|---|
| Plan before decorating | Measuring and decluttering your hallway first ensures your decor choices fit perfectly and maintain smooth flow. |
| Layer your lighting | Combining overhead lights with wall sconces creates warmth and visual interest, preventing flat, tunnel-like spaces. |
| Choose proportionate decor | Opt for slim furniture, cleverly sized artwork hung at eye level, and runners that balance the floor space. |
| Use colour strategically | Colour drenching or accent walls can amplify light and create purposeful zones within narrow hallways. |
| Maintain functionality | Integrate smart storage solutions like slim shoe cabinets and floating shelves to keep your hallway tidy and welcoming. |
Preparing your hallway for decorating
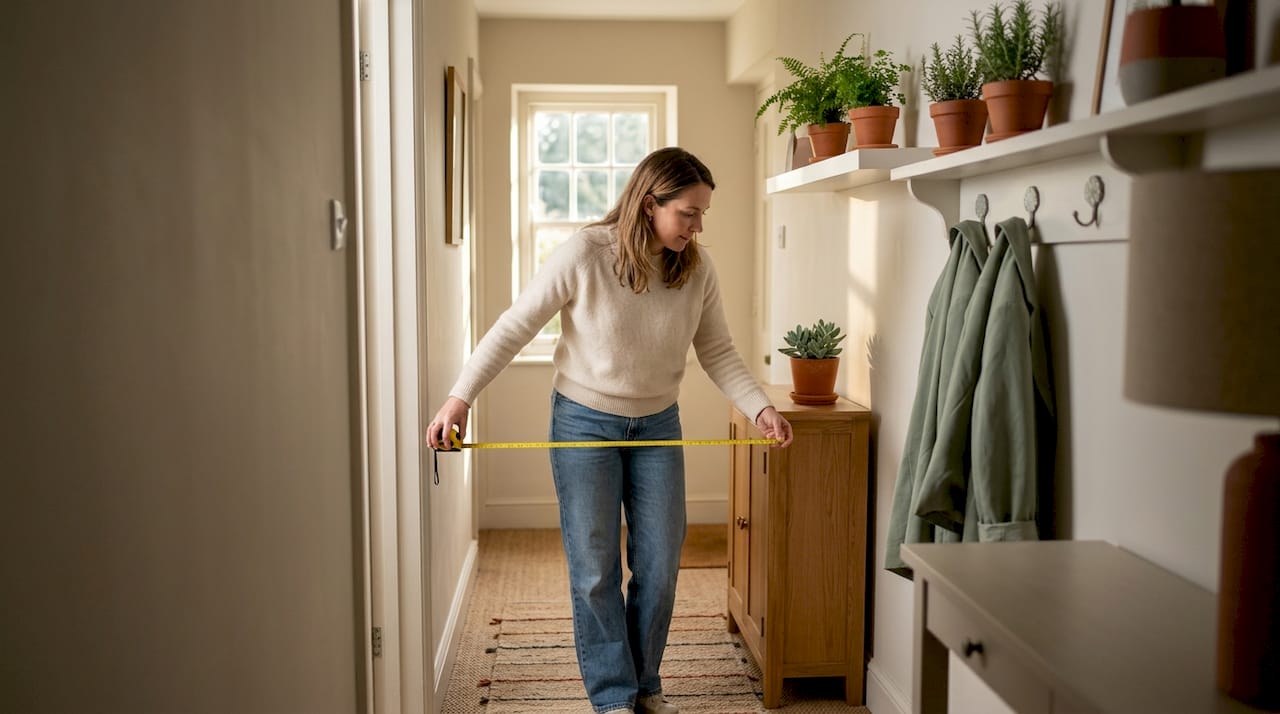
Before a single hook goes into a wall, you need hard facts about the space. That means measurements, not guesses.
Start by recording the hallway’s length, width, and ceiling height. Write them down. A narrow Victorian terrace hallway in Leeds and a wide Edwardian entrance hall in Bristol call for completely different furniture scales and lighting approaches, and confusing the two is how expensive mistakes happen.
Key measurements to capture:
- Total floor length and width
- Ceiling height (floor to cornice or ceiling rose)
- Door frame widths and heights
- Skirting board depth (it affects how close furniture can sit flush to the wall)
- Distance between any radiators, fuse boxes, or meters
Clear passage width matters more than most people realise. A comfortable walking flow requires a minimum clear path of 36 to 42 inches. Once you know your width, you know exactly how much depth your furniture can claim without pinching that flow.
| Hallway width | Maximum furniture depth | Recommended approach |
|---|---|---|
| Under 90 cm | 20 to 25 cm | Wall-mounted hooks and floating shelves only |
| 90 to 120 cm | 25 to 35 cm | Slim console or narrow shoe cabinet |
| 120 cm and above | Up to 40 cm | Full console table or bespoke joinery |
Natural lighting in hallways is often minimal, particularly in mid-terrace properties with a single front window or borrowed light through a glazed door. Note the time of day when light is strongest and whether overhead fittings are on a dimmer. These facts shape your colour and material choices later.
Also flag any awkward architectural features: a chimney breast that juts into the corridor, a staircase soffit that drops the ceiling, or an understairs cupboard with a poorly placed door. These are not problems to solve later. They belong in your decorating checklist from day one.
Pro Tip: Photograph every wall and the floor before you start. Refer back to these images when shopping for furniture. Scale is impossible to judge from memory alone.
Tools, materials, and initial styling concepts
A well-prepared kit saves more time than any shortcut. You do not need a professional toolkit, but you do need the right basics.
Essential tools for hallway decorating:
- Tape measure (5-metre minimum)
- Spirit level
- Hammer and masonry drill with appropriate bits
- Rawlplugs sized for your wall type (plasterboard fixings differ from solid brick)
- Pencil and low-tack masking tape for marking positions
- Picture hooks rated to the frame weight
Lighting choice is where most hallway projects stall. A single ceiling pendant does too much heavy lifting in a narrow space. Compare the options honestly:
| Lighting type | Best use | Typical cost range |
|---|---|---|
| Ceiling pendant or flush fitting | General ambient light | £30 to £150 |
| Wall sconces | Breaking tunnel effect, adding warmth | £40 to £200 per pair |
| LED strip lights | Under-shelf or stair accent lighting | £15 to £60 per run |
| Picture lights | Illuminating artwork, adding focal points | £25 to £120 each |
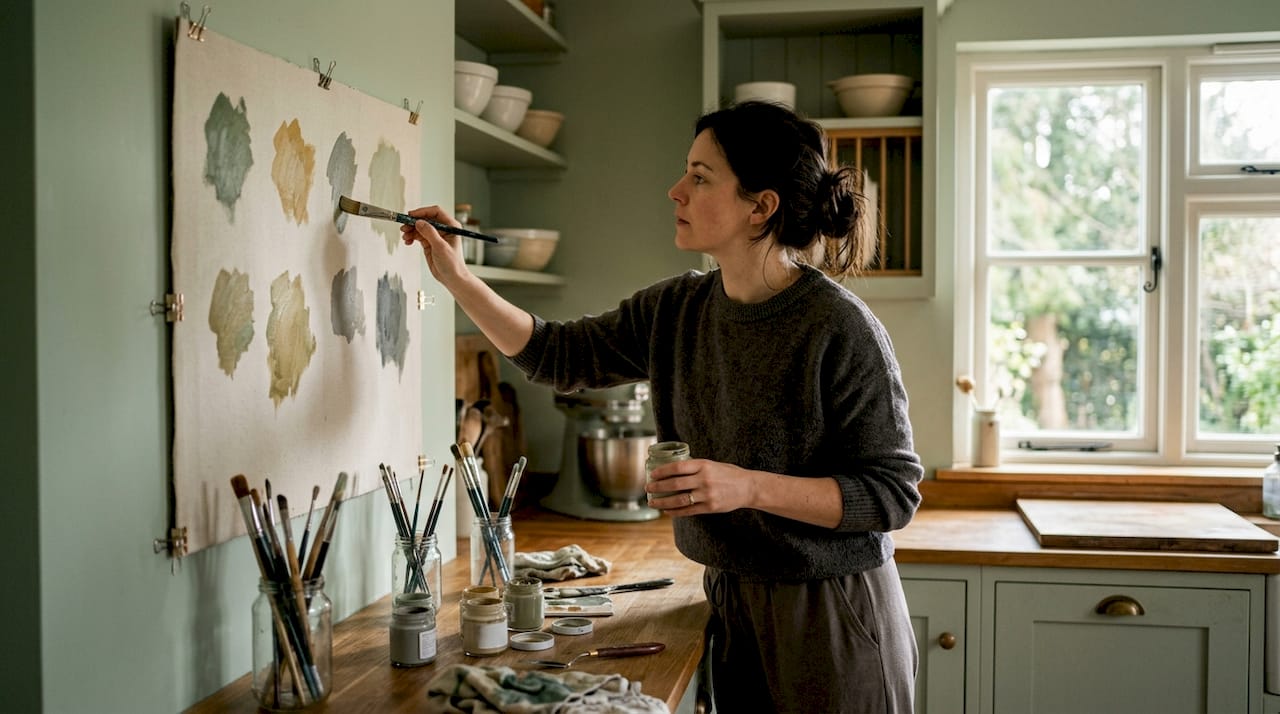
Colour is perhaps the single fastest transformation tool available to you. Small hallways respond particularly well to colour drenching with creamy warm whites, which bounce light down the full length of the corridor and make the space feel twice as wide. Conversely, a wider hallway can carry a deep navy, forest green, or terracotta on the back wall to create a strong first impression without feeling oppressive.
Artwork guidelines are often ignored, then regretted. Frame centres should sit at 145 to 152 cm from the floor, which corresponds to average human eye level. Going higher is a common mistake that fragments the visual connection between artwork and the viewer, making the wall feel disconnected rather than curated. Choosing a consistent frame style, whether that is thin black metal, natural wood, or white gallery frames, ties a collection together without matching subjects.
Refer to your decor theme selection before committing to a palette. The hallway connects every room, so the colours and materials here need to speak to what comes next through each doorway.
Pro Tip: Cut frame-sized rectangles from brown paper, tape them to the wall, and live with the layout for 48 hours before drilling. It costs nothing and prevents a wall full of redundant holes.
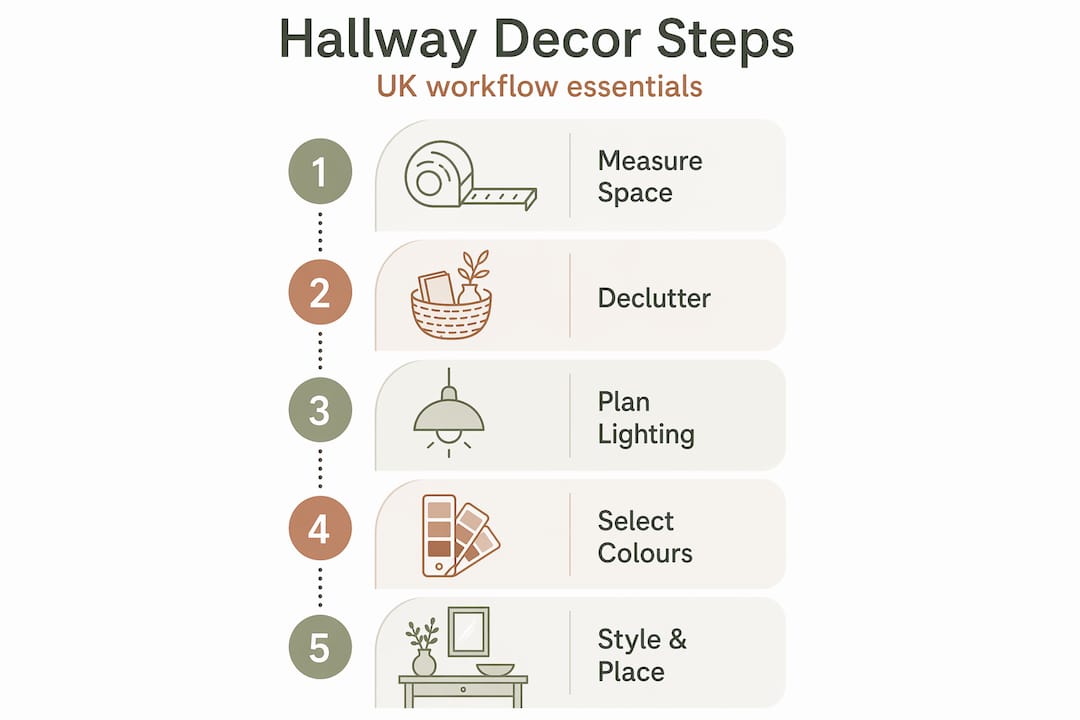
Executing the styling workflow step by step
This is where planning becomes a physical space. Follow this order and you will avoid the most common sequencing mistakes, such as painting after you have already damaged walls hanging artwork, or buying a rug before confirming furniture positions.
-
Fix lighting first. Electricians need access to walls before decorating. Install any new wall sconces or ceiling fittings before painting. Sconces positioned 60 to 66 inches from the floor break the tunnel effect that plagues long UK hallways and add pools of warmth at eye level.
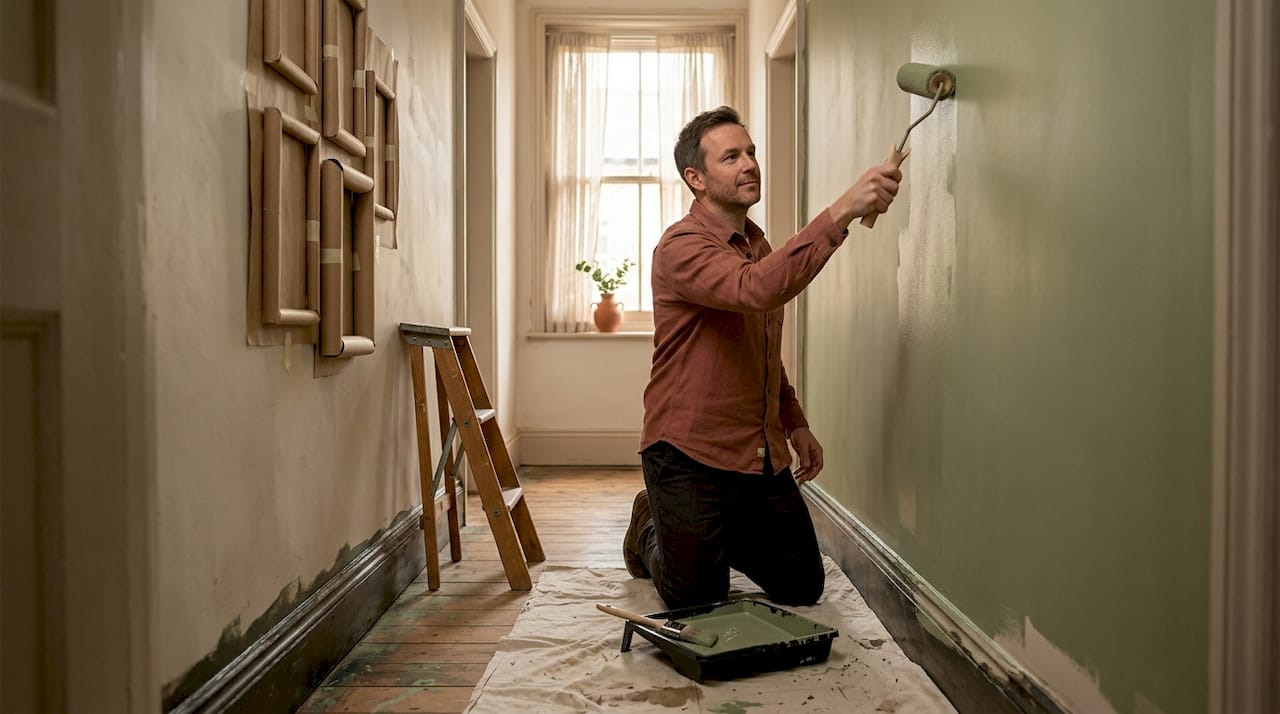
-
Paint or paper walls. Work top to bottom. If you are colour drenching, carry the colour onto the ceiling too. This removes the harsh ceiling line and makes low-ceilinged hallways feel calmer.
-
Place furniture. Floating shelves go up before consoles because shelf brackets need precise levelling. For slim consoles, allow at least 36 inches of clear floor beyond the furniture edge.
-
Hang artwork and mirrors. Centre artwork at eye level at 145 to 152 cm. For gallery walls, lay frames on the floor first to test the arrangement. Maintain 5 to 7 cm spacing between frames for a tight, considered look.
-
Lay the runner rug. A runner should leave approximately 15 cm of floor visible on each side. This border of flooring creates visual definition and prevents the rug from looking like wall-to-wall carpet.
-
Style and accessorise. Add hooks, small plants, lanterns, or trays last, once the foundational pieces are confirmed.
Runner rug sizing reference:
| Hallway width | Recommended runner width | Side border left |
|---|---|---|
| 90 cm | 60 cm | 15 cm each side |
| 110 cm | 80 cm | 15 cm each side |
| 130 cm | 90 to 100 cm | 15 to 20 cm each side |
Consider sight lines from adjacent rooms. Standing in your living room or kitchen doorway, what do you see when you look into the hallway? That view should feel intentional, not accidental. A mirror placed opposite a window pulls daylight deep into the corridor and rewards that glance.
For decorative storage solutions that do not compromise walking space, wall hooks with a backing shelf are far more efficient than a freestanding coat rack in any hallway under 110 cm wide. And when budget is tight, affordable decor swaps like new hook hardware and a single statement mirror deliver outsized visual impact.
Pro Tip: Lay the runner rug before committing its position permanently. Walk the length of the hallway several times to confirm it feels right underfoot and does not slide or bunch near the front door.
Troubleshooting common hallway decor mistakes
Even well-intentioned hallway projects go wrong. These are the errors that come up most often, and more importantly, how to fix them.
Furniture that is too large. A console table that looked reasonable in a showroom can block a hallway entirely once the door swings open. Always map door swing arcs onto your floor plan before purchasing.
Artwork hung too high. It looks dramatic in theory. In practice it breaks the relationship between eye and image. Rehang at 145 to 152 cm centre height and the improvement is immediate.
Mismatched gallery walls. Mixing ornate gilt frames with plain white ones without a unifying element creates visual noise rather than character. Pick one unifying detail, whether that is frame colour, frame width, or material, and vary only the artwork inside.
Delicate finishes in high-traffic areas. Matte emulsion on a hallway wall sounds appealing but scuffs the moment a bag brushes it. Use a durable eggshell or satin finish instead. The same logic applies to flooring: pale grout in a tiled hallway requires near-daily attention.
“Relying on a single overhead light leaves a hallway flat and lifeless. It creates harsh shadows at floor level and does nothing for the atmosphere of the space.” This common lighting mistake is easily corrected by adding even one wall sconce on a dimmer.
For room-specific decor advice that goes beyond the hallway, the same principles of scale, lighting, and material durability apply throughout the home.
Verifying your hallway transformation and final tips
Once the work is done, step back and assess the space the same way a first-time visitor would. Walk the full length. Turn around. Stand in the doorway of each adjoining room.
Verification checklist:
- Is the clear passage width at least 36 inches with everything in place?
- Do the wall sconces or secondary lights create warmth distinct from the overhead fitting?
- Does the mirror or artwork feel connected to the wall rather than floating too high?
- Does the runner rug sit evenly, with consistent floor visible on each side?
- Is there a designated spot for everyday items (keys, bags, post) so clutter has no excuse to accumulate?
Two shorter runners aligned with door thresholds rather than a single long runner can add visual rhythm to an extended hallway while also making it far easier to lift and clean underneath. It is a practical swap that also looks deliberate rather than default.
Refreshing the hallway seasonally does not require a full redesign. Swap a runner, change artwork, or update a lamp shade. Because the hallway is so narrow, even small changes read loudly.
Pro Tip: Place a stylish room accent such as a small sculptural object or a single stem vase on the console shelf. It gives the eye somewhere to land and signals that the space was thought about, not just assembled.
Why a structured workflow transforms hallway decor success
Here is the opinion that most decorating guides avoid: the hallway fails not because of bad taste, but because of bad sequencing. People buy the rug, then the mirror, then decide to paint, and then realise none of it coheres. That is not a style problem. It is a process problem.
A structured design workflow forces the uncomfortable questions early, before money is spent. How wide is the clear path actually? What happens to the lighting when the sun moves? Where do bags genuinely land when someone walks through the door? Answering these questions before shopping is the difference between a hallway that looks designed and one that looks arranged.
As Lauren Saab notes, a hallway is the first impression of a home, and the intention you bring to it reflects confidence in every room beyond it. That observation matters because hallways are earned spaces. Nobody praises an easy room. When a narrow hallway is genuinely well-styled, guests notice.
The other thing most guides understate is durability. A hallway sees more physical contact per day than almost any other room in a house. Bags knock into walls. Boots drag across rugs. Children touch everything. Designing for durability is not a compromise on style. It is the most stylish thing you can do, because a beautiful finish that scuffs in a fortnight does not stay beautiful.
Use your decorating checklist as a living document. Update it as the project progresses. The hallway that was an afterthought can genuinely become the room that sets the tone for everything else.
Essential products to complete your hallway decor workflow
Styling decisions only land well when the right practical products are in place. At Homable, we have picked products that fit directly into the workflow steps covered above, built for UK hallways where space, durability, and everyday function all matter equally.

A solid wood shoe cabinet keeps footwear completely out of sight without demanding more than 35 cm of floor depth, which makes it viable in hallways from 90 cm wide. For soft clutter like scarves and sports bags, a collapsible fabric laundry basket tucks neatly out of view and collapses flat when not needed. And if you want a small finishing touch that extends the hallway’s personality into the adjacent kitchen, our organic cotton tea towel adds texture and character without costing a second thought. Free delivery on orders over £100 makes it straightforward to combine these essentials in a single order.
Frequently asked questions
What is the best height to hang artwork in a hallway?
Artwork centres should sit at 145 to 152 cm (57 to 60 inches) from the floor, aligning with average eye level and making narrow hallways feel more spacious and considered.
How can I make a small hallway feel brighter and larger?
Colour drenching with warm whites on walls, ceiling, and woodwork maximises light travel down the corridor and can transform the feel of a small hallway without structural changes.
What lighting options work best for long hallways?
Wall sconces placed at 60 to 66 inches from the floor, used alongside a ceiling fitting, layer the light effectively, break the tunnel effect, and add warmth at eye level throughout the corridor.
How do I prevent clutter in narrow hallways?
Slim or wall-mounted furniture such as floating shelves, narrow consoles, and dedicated wall hooks keep the passage clear while giving every item a fixed home, which is the only reliable way to prevent clutter from returning.