Cart
0

TL;DR:
- Following a six-step design workflow can help plan and style a room efficiently without costly mistakes.
- Homeowners should measure their space, set a detailed budget, and pick a focal item before purchasing anything.
Follow a six-step efficient design workflow this weekend to plan, source and style a room without costly mistakes. Start with three actions right now:
- Measure the room with a tape measure (length, width, ceiling height, doorway width).
- Set a total budget and split it: 40% anchor piece, 25% secondary furniture, 15% lighting, 10% textiles, 10% accessories.
- Pick one focal item — the single piece the whole room will build around.
Print the checklist in the section below, then browse Homable’s curated finishing picks to shortlist accessories before you buy anything else.
Table of Contents
- What does the six-step room workflow look like?
- Step 1: define the room’s purpose before you buy a single thing
- Step 2: measure the space and choose a focal point
- Step 3: plan lighting in three layers
- Step 4: choose a palette and materials that hold together
- Step 5: build a prioritised shopping list with realistic lead times
- Step 6: style shelves and surfaces using three reliable rules
- Common pitfalls and how to fix them quickly
- Your one-page printable checklist and weekend timetable
- How this workflow was developed and tested
- Key takeaways
- Why the blueprint matters more than the budget
- Homable’s curated picks to finish your room
- Useful sources and further reading
What does the six-step room workflow look like?
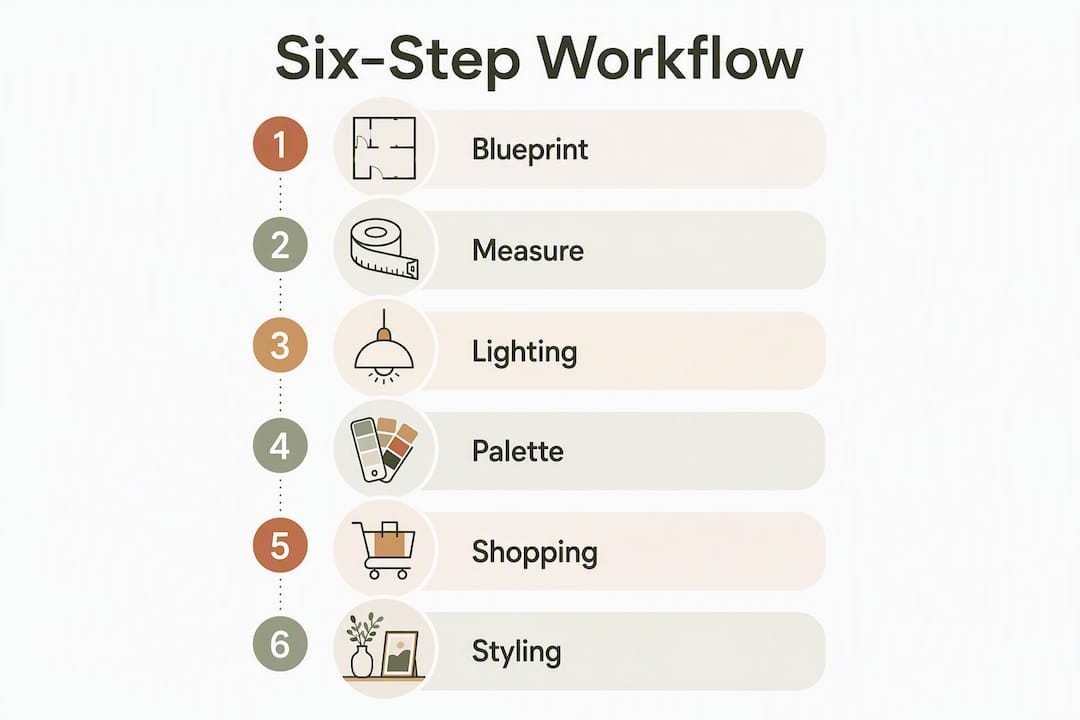
A quick map before you go deeper. Each step has one job.
| Step | Name | Key outcome | Rough time |
|---|---|---|---|
| 1 | Blueprint | Clear purpose, budget and mood words | 1–2 hours |
| 2 | Measure & layout | Accurate floor plan, focal point chosen | 1–2 hours |
| 3 | Lighting plan | Three layers identified, bulbs noted | 30 minutes |
| 4 | Palette & materials | 60-30-10 colour split confirmed | 30–60 minutes |
| 5 | Shopping list | Prioritised order, lead times noted | 1 hour |
| 6 | Style & finish | Shelves and surfaces dressed | 2–3 hours |
Day one covers steps 1–3; day two covers steps 4–6. That is a realistic weekend.
Step 1: define the room’s purpose before you buy a single thing
Designers consistently recommend building a clear blueprint before selecting paint or furniture. Without one, you end up buying random pieces that never quite fit together.
Answer five questions first:
- What is the room’s primary function (relaxing, working, sleeping, dining)?
- Who uses it, and how often?
- What storage does it need?
- What three mood words describe how it should feel (calm, warm, playful)?
- What does it need to do that it currently fails at?
Budget split
| Category | Percentage of total budget |
|---|---|
| Anchor piece | 40% |
| Secondary furniture | 25% |
| Lighting | 15% |
| Textiles (rugs, curtains) | 10% |
| Accessories | 10% |
Pro Tip: Add a 10–20% contingency on top of your total before you start. Label every item on your shopping list as either “must-have” or “nice-to-have” — that label is the only thing standing between you and an impulse buy that derails the budget.
For a fuller walkthrough of the planning stage, the step-by-step home decorating guide on Homable covers the blueprint in more detail.
Step 2: measure the space and choose a focal point
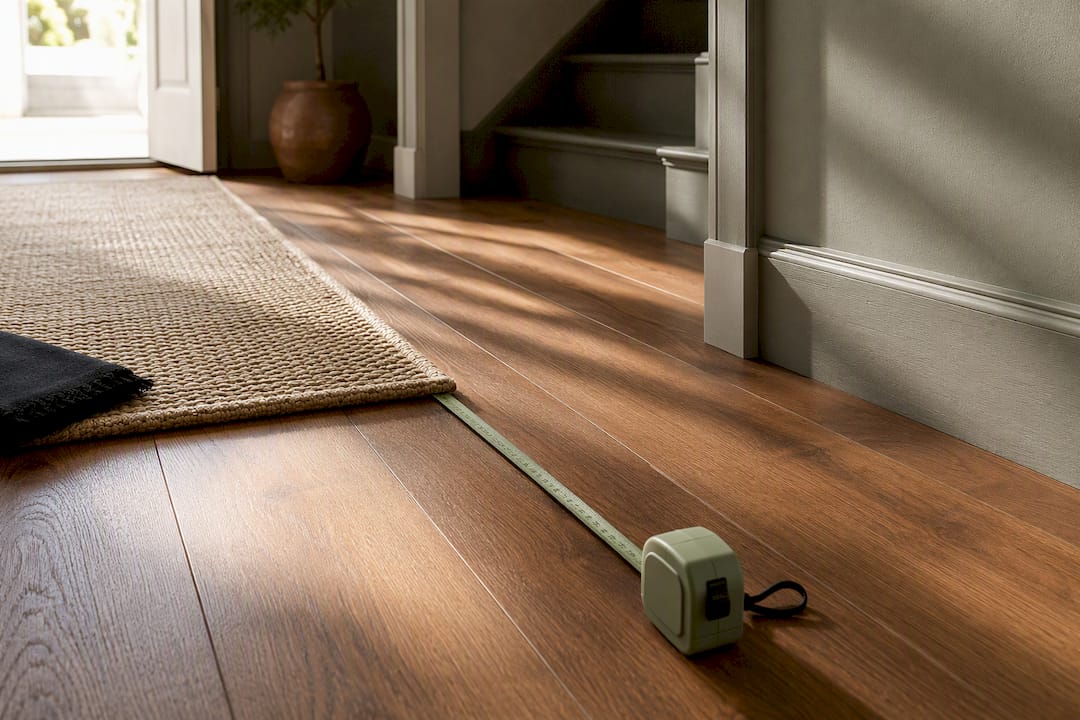
Homeowners frequently overestimate room dimensions when judging by eye. That gap is why sofas arrive and block doorways, or rugs look lost in the middle of the floor.
Measure and record:
- Room length and width (measure twice)
- Ceiling height
- Door and hallway widths (critical before ordering large furniture — common door-fitting mistakes often come down to skipping this step)
- Window positions and sill heights
- Electrical outlet locations
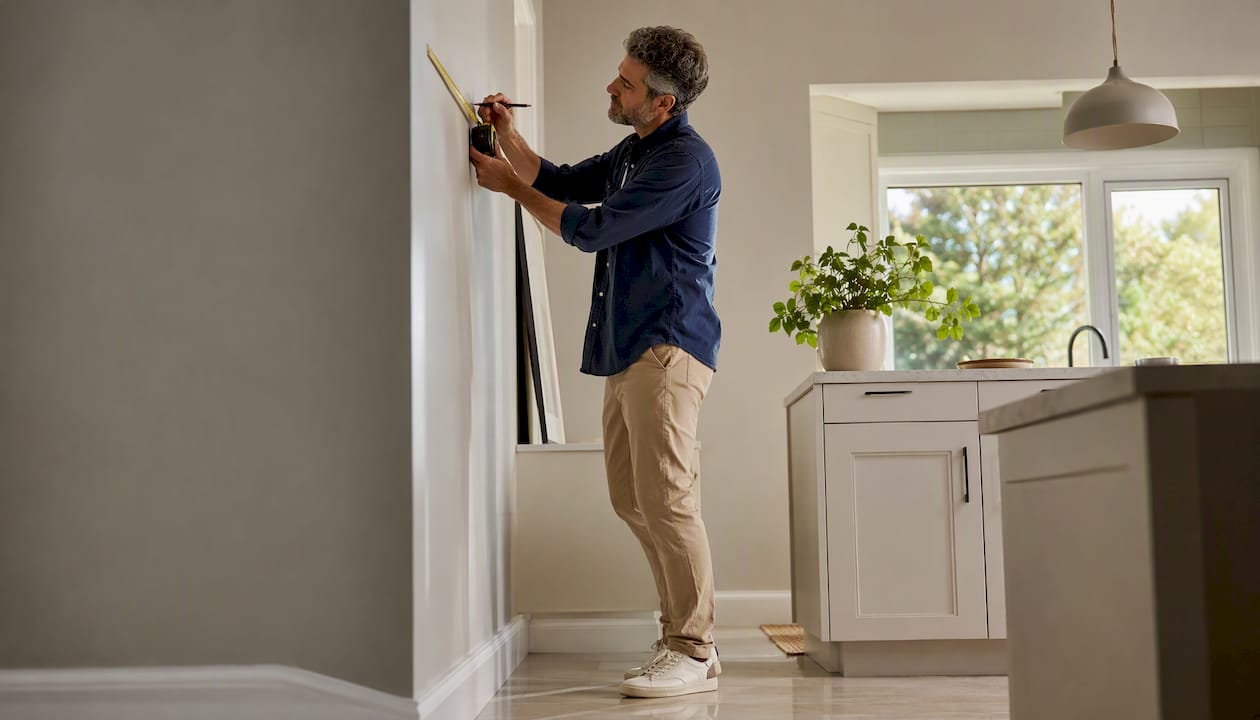
Draw a simple scale plan on squared paper. Mark circulation paths and keep at least 75–90 cm clear for main walkways. Test furniture placement with cardboard cut-outs before ordering.
Scale rules worth memorising: hang artwork so its centre sits at 145–152 cm from the floor. For a gallery wall or large piece above a sofa, the width of the art should be roughly two-thirds the width of the furniture below it. Apply the same two-thirds logic to rugs: a rug that is too small makes a room feel unanchored.
For small rooms specifically, the tips for styling small spaces guide on Homable covers scale and layout in practical detail.
Step 3: plan lighting in three layers
Layered lighting is often the single most cost-effective way to make a room feel finished. A room with one overhead bulb always looks flat, no matter how good the furniture is.
The three layers:
- Ambient: ceiling light or pendant — the base layer that fills the room.
- Task: desk lamp, reading lamp, under-cabinet strip — light directed at an activity.
- Accent: table lamps, uplights, picture lights — mood and warmth.
For living spaces, aim for a colour temperature of 2700–3000K. That range reads as warm and inviting rather than clinical. LED bulbs in that range are widely available at most UK hardware retailers.
Pro Tip: Fit dimmers to your ambient and accent circuits. You can shift the mood from bright-and-functional to warm-and-relaxed without changing a single fixture. It costs less than a new lamp and does more work.
The Homable guide on layering in home styling goes further on how to combine these layers practically.
Step 4: choose a palette and materials that hold together
The 60-30-10 rule is the simplest palette framework: 60% dominant colour (walls, large sofa), 30% secondary (curtains, secondary chairs), 10% accent (cushions, ornaments). It works because it mirrors the proportions the eye finds naturally balanced.
The fastest way to build a palette is to start from one item you already love — a rug, a curtain, or a piece of artwork. Pull three colours from it and assign them to the 60-30-10 split.
Paint is the most flexible element and should be chosen after rugs and large furniture, not before. Most people do it the wrong way round and then struggle to match everything else to a wall colour they committed to too early.
Material repetition matters as much as colour. Repeat one or two finishes — a wood tone, a brushed brass, a matte black — across at least three places in the room. That repetition is what makes a room feel considered rather than assembled from separate shopping trips. Photograph swatches in natural light and hold them next to your anchor piece before committing.
Step 5: build a prioritised shopping list with realistic lead times
Buy in this order: anchor piece first, accessories last. Accessories bought before the anchor is in place almost always need to be returned or replaced.
| Item category | Typical UK lead time |
|---|---|
| In-stock accessories | 2–5 days |
| In-stock rugs and curtains | 3–7 days |
| Standard furniture (in stock) | 1–3 weeks |
| Regular furniture (order) | 2–6 weeks |
| Custom upholstery | 6–10 weeks |
Order your anchor piece the moment you have confirmed the measurements and the budget. Do not wait. High-priority pieces sell out, and a 6–10 week lead time on a custom sofa means the room sits half-finished for two months if you hesitate.
Pro Tip: Keep a shared note or spreadsheet with each item’s order date, expected delivery date and return window. Missing a return deadline on a wrong-scale piece is an expensive lesson.
A Baluchi Cannon Pink Woolen Rug from Homable works well as a statement anchor piece — it ships quickly and sets a warm palette that most secondary furniture can follow.
Step 6: style shelves and surfaces using three reliable rules
Group accessories in odd numbers and vary height: one tall item, one medium, one short. That combination creates visual movement without looking cluttered. Five items work the same way; four or six rarely do.
The rule of thirds applies to shelves the same way it applies to photography. Divide the shelf into thirds mentally and place the tallest item at one of the dividing lines, not dead centre. Leave breathing room — a shelf packed to every edge reads as storage, not styling.
Mix materials deliberately: ceramic next to wood next to something with a matte metal finish. The contrast is what makes each piece readable.
Pro Tip: Start with three objects. Step back, photograph it on your phone, and look at the photo rather than the shelf itself. The camera flattens the scene and makes proportion problems obvious. Add one small contrasting piece last and photograph again before committing.
For more on surface and shelf staging, the decor accessory placement guide on Homable is worth bookmarking.
Common pitfalls and how to fix them quickly
| Problem | Quick fix |
|---|---|
| Buying before planning | Stop. Write the three mood words and the budget split before opening any retailer tab. |
| Wrong scale furniture | Measure the floor plan cut-out before ordering; check doorway and hallway widths. |
| Weak or flat lighting | Add one table lamp and one accent source before buying anything else. |
| Piecemeal buying | Commit to the anchor piece first; freeze accessory purchases until it arrives. |
| Missing return windows | Log order date and return deadline in a note the day the item arrives. |
On returns: check the retailer’s return policy before ordering, not after. Most UK retailers offer 14–30 days, but some large or custom items are non-returnable once assembled. Measure delivery and assembly time against your return window. If a piece arrives and looks wrong in the room, photograph it immediately and contact the retailer the same day.
For a broader look at what goes wrong and how to recover, common home styling mistakes covers the most frequent errors UK homeowners make.
Your one-page printable checklist and weekend timetable
Weekend plan
Day 1 (planning and measuring)
- Measure the room and draw a scale floor plan
- Answer the five blueprint questions and write three mood words
- Set the total budget and apply the 40-25-15-10-10 split
- Identify the anchor piece and check lead times
- Draft the lighting plan (three layers)
Day 2 (buying and styling)
- Order the anchor piece if in stock; note delivery date
- Confirm palette using the 60-30-10 rule and swatches
- Order rugs, curtains and lighting
- Style shelves and surfaces using odd-number groupings
- Photograph before and after for reference
Browse Homable’s curated finishing pieces to shortlist accessories on day two. The range covers rugs, curtains, ornaments and storage that fit most UK room palettes.
How this workflow was developed and tested
Cristiano authors several focused guides for Homable covering room workflows, small-space styling, curtain installation and accessory layering. The six-step process here was cross-checked against established design best practice on measurement accuracy, lighting layering and palette sequencing, then tested against real UK room projects with typical British delivery timelines and return policies in mind.
Related Homable guides that informed this workflow:
- Modern interior design workflow for UK homes
- 7 essential tips for stylish home accessories
- Step-by-step home accessory styling
UK delivery note: most in-stock items from UK retailers arrive within 3–7 days. Custom or upholstered pieces routinely take 6–10 weeks. Always check the product page for the specific lead time and confirm the return policy covers assembled items before ordering.
Key takeaways
A practical room design workflow covers six steps in sequence: blueprint, measure, light, palette, shop in order, then style last.
| Point | Details |
|---|---|
| Blueprint before buying | Answer five questions about function and mood before opening any retailer tab. |
| Measure accurately | Homeowners overestimate room size by 15–25%; always use a tape measure. |
| Layer the lighting | Ambient, task and accent sources together do more than any single fixture can. |
| Buy anchor piece first | Order it immediately once measurements are confirmed; accessories wait until it arrives. |
| Homable for finishing touches | Browse Homable’s curated rugs, curtains and accessories to complete the room quickly. |
Why the blueprint matters more than the budget
Most homeowners I speak with assume the budget is the hard constraint. It rarely is. The real constraint is the absence of a plan. A tight budget spent in the right order produces a coherent room. A generous budget spent piecemeal produces a collection of nice things that never quite add up to a room.
The blueprint step feels slow when you are excited to buy. Skip it and you will spend the next three months returning things, filling gaps and wondering why the room still does not feel right. Spend two hours on it and every subsequent decision becomes faster, not harder.
Start small if the whole process feels large. Pick one surface — a shelf, a side table, a windowsill — and apply the odd-number rule and the height variation to it this weekend. That one change, done well, will show you what the rest of the room is capable of. Then visit Homable for the next step.
Homable’s curated picks to finish your room
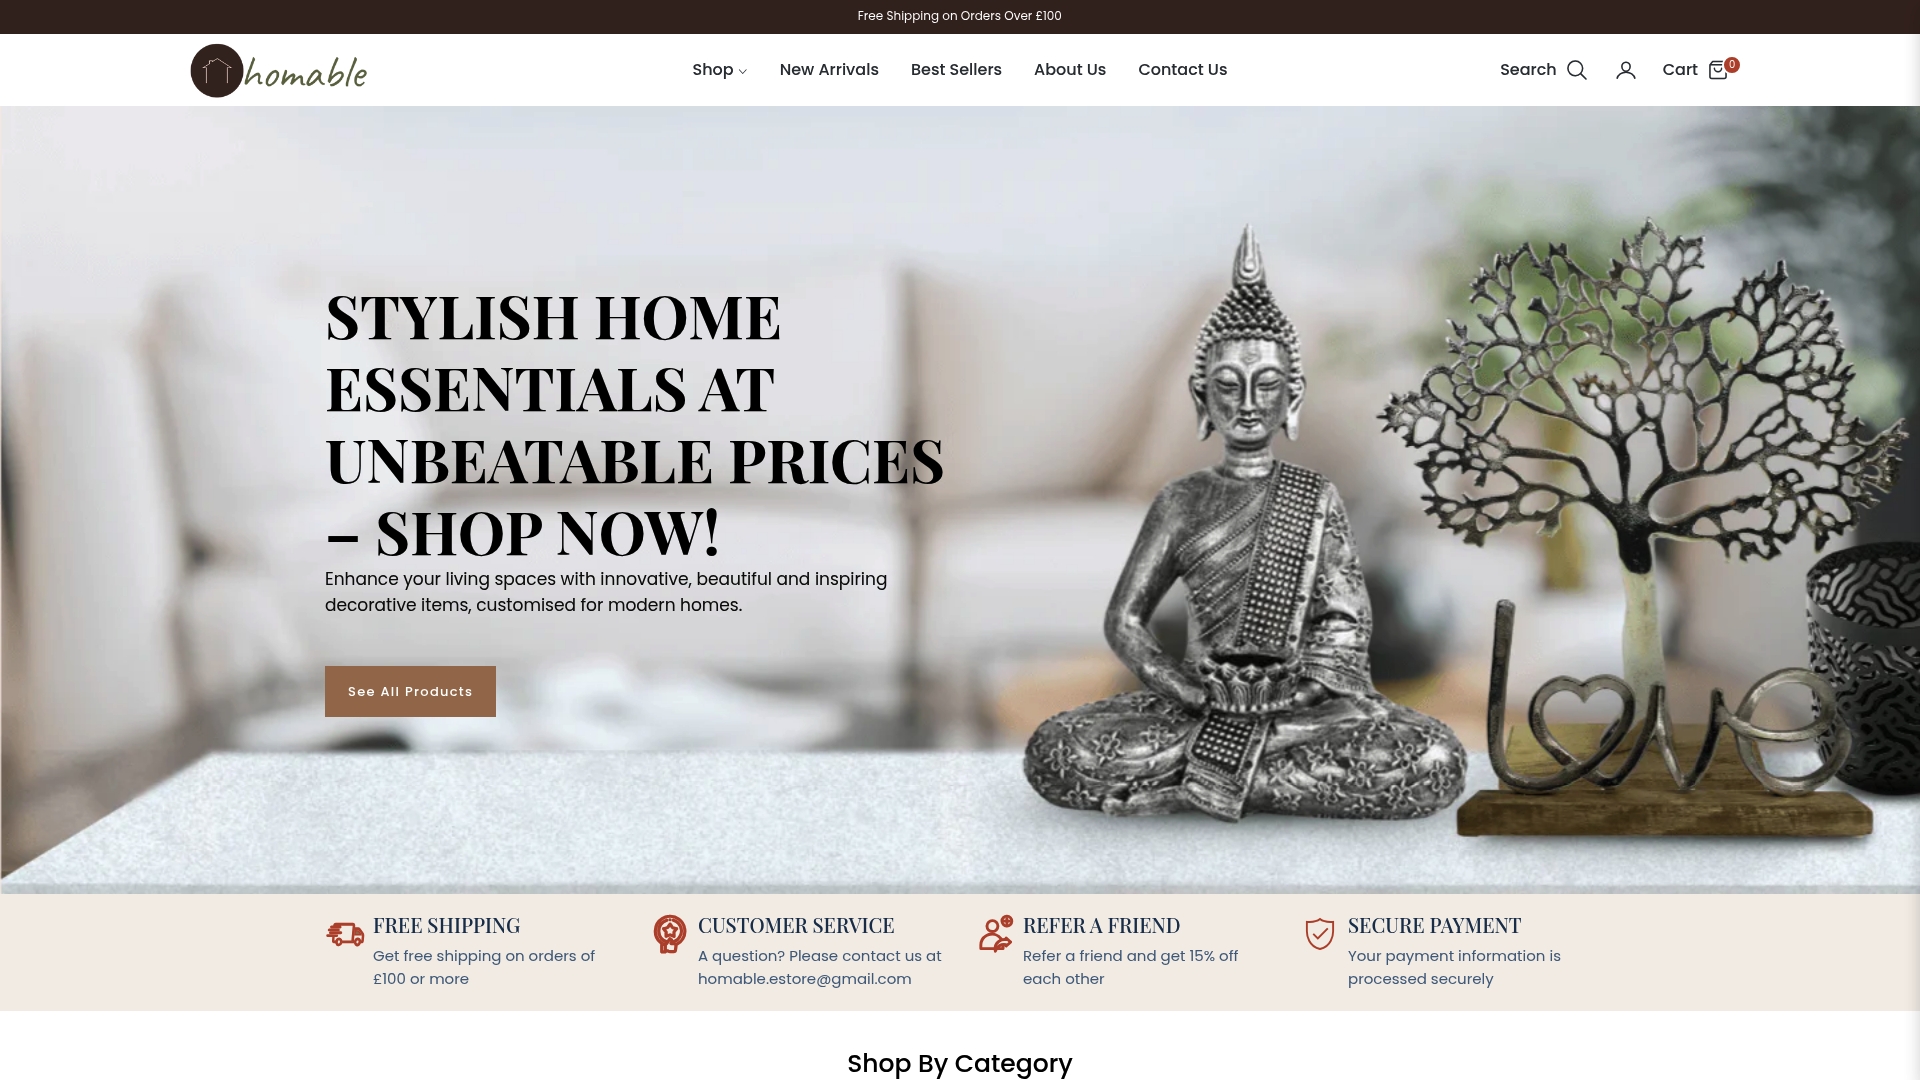
The finishing pieces are where a room goes from furnished to styled, and that is exactly where Homable focuses. The range covers the categories this workflow prioritises: rugs to anchor the floor plan, curtains to frame windows and soften acoustics, and accessories to complete shelves and surfaces.
A few specific picks worth considering:
- Baluchi Cannon Pink Woolen Rug — a statement anchor piece that sets a warm palette other purchases can follow.
- Dark Grey Bamboo Curtain 100x220 cm — a neutral that works across most 60-30-10 palettes and ships quickly.
- Natural Bamboo Rugs 120x180 cm — a natural fibre option that pairs well with warm wood tones and earthy palettes.
Free shipping applies on orders over £100. Browse the full range at Homable and use the weekend checklist above to confirm sizes before adding to your basket.
Useful sources and further reading
Homable guides used in this article:
- Step-by-step home decorating guide — detailed blueprint and planning walkthrough
- Layering in home styling — lighting and texture layering in practice
- Decor accessory placement guide — shelf and surface staging, step by step
- Common home styling mistakes — quick fixes for the most frequent errors
External references:
- The Residential Interior Design Process — Home Improvement UK overview of design stages
UK delivery and returns reminder: keep your order confirmation, note the return deadline on the day the item arrives, and photograph any piece that looks wrong in the room before contacting the retailer. Most UK retailers require items to be in original packaging for a return — check this before assembling anything you are unsure about.